Zigbee Alarm System using Gotify push notifications written in Go


I wanted to create a system that would use a Zigbee door sensor to send a notification to my phone when the door was opened.
I settled on creating a Zigbee gateway using a Raspberry Pi 4B 4GB and a RaspBee 2 by Phoscon, which is a Zigbee module for the Raspberry pi, the Raspbee 2 utilises the deCONZ software designed by dresden elektronik which exposes the gateway and the devices connected to the gateway through an GUI, and API and an optional Websocket.
Requirements:
- Rapsberry Pi 4b (4GB or 8GB)
- RaspBee 2
- Aeotec Zigbee Smart Multipurpose Sensor
- A Gotify instance
- Some knowledge of headless Raspberry pi setups
- Some knowledge of SSH
- Some knowledge of Go
The RaspBee 2 Setup
- I flashed the microSD card on my Raspberry Pi with the Raspbian 32bit OS and put that flashed microSD card into the slot on the Raspberry Pi.
- Once I was able to SSH into the Raspberry Pi, which I had given the hostname hub.local. I followed the steps provided by the manufacturer of the RaspBee 2 here . I ran into one issue while working through the list of steps, at step 4. Compile RTC kernel module, I was recieving an error :
make[1]: *** /lib/modules/5.15.61-v7l+/build: No such file or directory. Stop.The fix which I found for this was to run:
rpi-updateand after completing the update steps and rebooting the Raspberry Pi, I was able to run through the rest of the steps provided.
After completing the steps for the deCONZ installation which are provided by Phoscon below the RaspBee 2 installation steps, the Phoscon app should be available for you at either:
your_raspberry_pi_ip:80 or hostname:80so for my case, I can point my browser to http://hub.local and reach the phoscon app.
The Phoscon Setup
Now that you have set up your login for the Phoscon app, you should see a screen resembling an app like this:
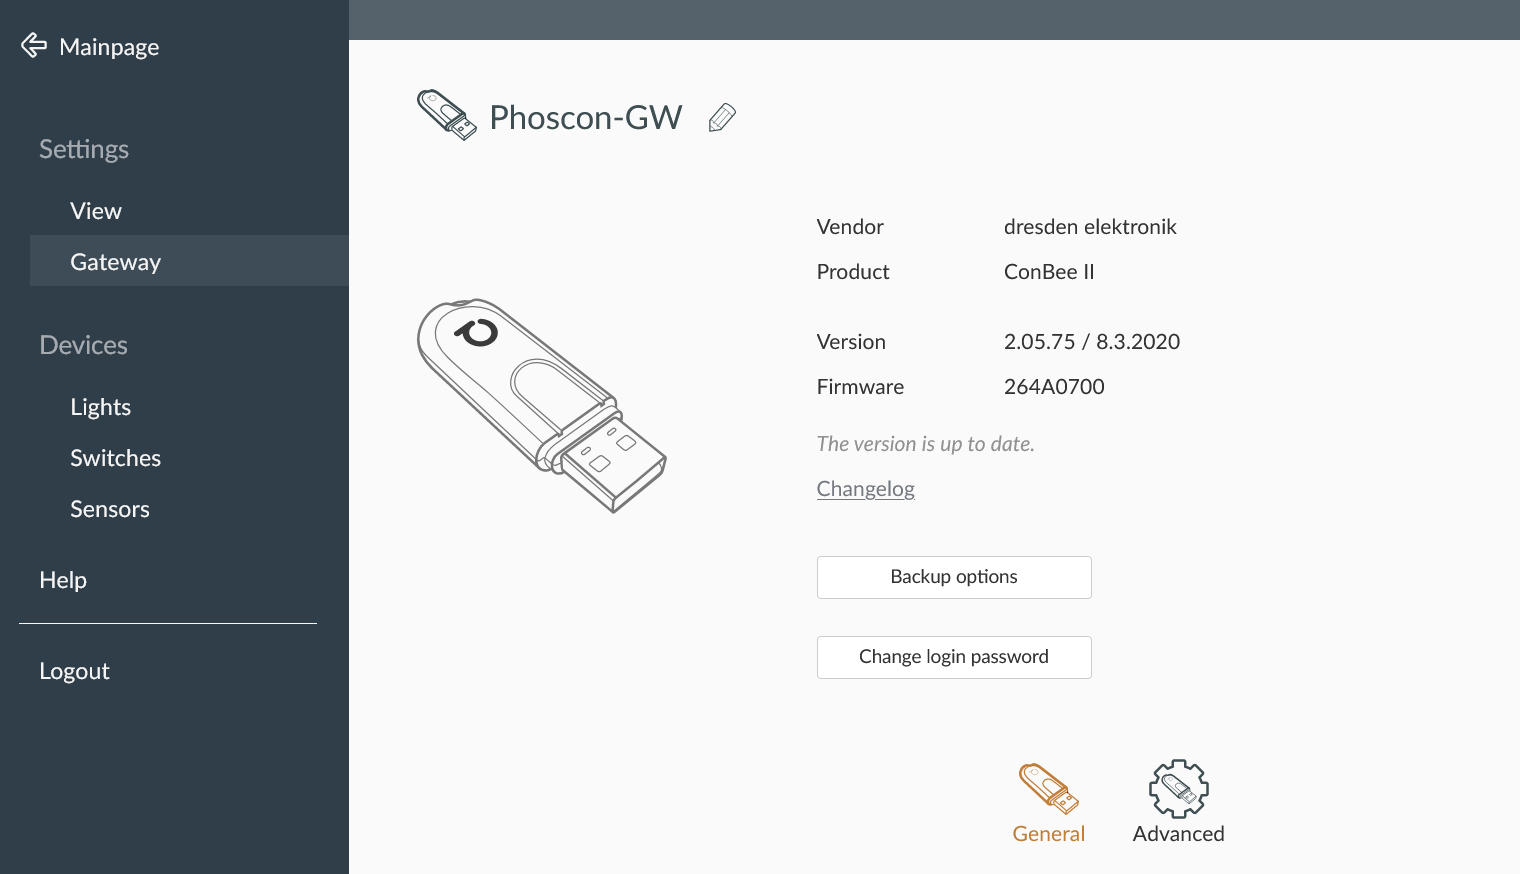
Navigate to the "Help" section in the drawer on the left side of the screen, as seen above.
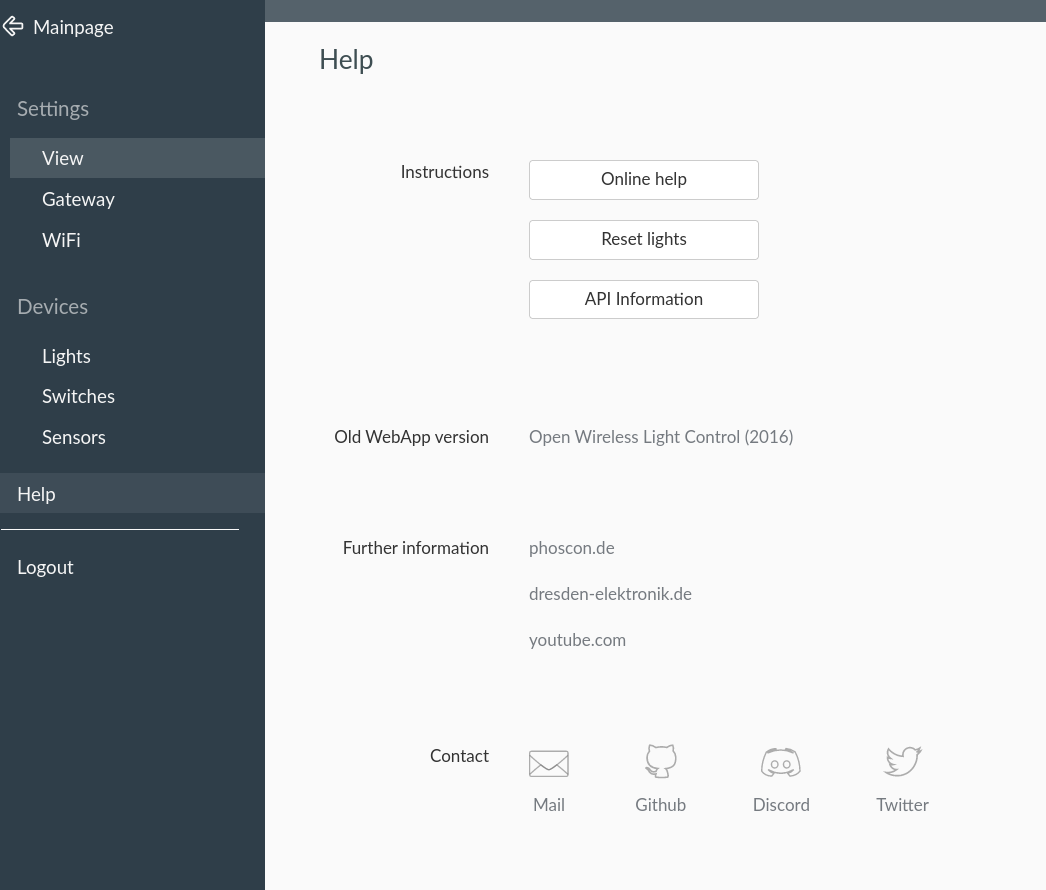
Select "API information", this is the section which displays all the API information for your current gateway:
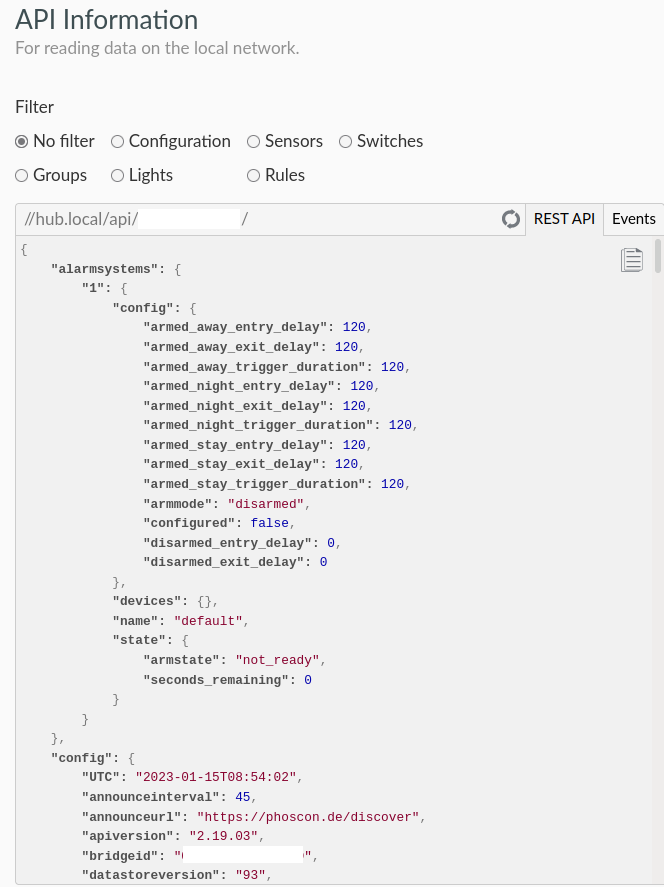
However, as we want to get a notification as close to the opening of the door, we will be utilising the websocket which should use one of the following ports: 443, 8080, 8088, 20877, or any other unused random port. (Source: https://dresden-elektronik.github.io/deconz-rest-doc/endpoints/websocket/)
Adding the sensor to Phoscon
- Get the sensor to pairing mode
- In the Help section, the drawer on the Phoscon app click on the sensors section
- Click on the "Add new sensor" button at the bottom left of the page
- Click on the Other button for manufacturers.
- If all is set correctly your sensor's light should eventually stop blinking and the sensor should appear in the sensors section.
Setting up the Alarm system services
The alarm system is comprised of 2 parts:
- API service
- Websocket listener
I chose to run both of these services in tmux on a serperate Raspberry Pi, however its possible to run this in many ways.
The code for the services can be found at:
In these repositories there are two compiled versions, they are compiled to run on ARM64 machines. The compiled files are gotify-alarm-api for the gotify-alarm-api repo and websocket for the gotify-alarm-websocket repo.
However, you may more than likely want to compile the go code yourself to run it in another way.
Here is a gist for cross-compiling for Go: https://gist.github.com/conoro/4fca191fad018b6e47922a21fab499ca
Note: For the code to work you will need a .env file in the same directory as the file. The .env file requires the following lines:
GOTIFY_API_KEY=[YOUR GOTIFY APP KEY]
IP_ADDRESS=[IP ADDRESS OF YOUR ZIGBEE GATEWAY]
PORT=[THE PORT WHICH YOUR WEBSOCKET IS AVAILABLE AT]
Putting it all together
Once you have compiled the Go code into your desired architecture or deployed the code. You will need to run the files on the same machine in this order:
- Alarm API Server
- Websocket Listener
The API server will host on the chosen machine at port 8111, and has two routes:
- /set_alarm - This is a switch between On or Off
- /alarm_state - This returns either OFF or ON depending on the alarm state value
How to switch Alarm ON or OFF:
In your browser, point to your Alarm API server address at port 8111 and go to the route /set_alarm. Example:
192.168.1.10:8111/set_alarmThis will return either "Setting Alarm to off" or "Setting Alarm to on"
How it works:
The websocket listener will listen for events coming from the door sensor and specifically waits for:
"open":trueand then queries the Alarm API Server state at /alarm_state and depending on the current alarm state, the Gotify notification title and priority are changed:
Differences per state:
- ON: Title: ALARM-Door Opened, Priority: 10
- OFF: Title: Door Opened, Priority: 5
Wrapping up
This project was fairly intricate and the code fairly simple, but for anyone who wants to use the RaspBee 2 and various sensors for their own Self-hosted alarm system, it can be a good starting point.
In the future, I'd like to use NodeRed to use the available Websocket which I believe may be a nicer system and may prove to be easier to improve and include more sensors.